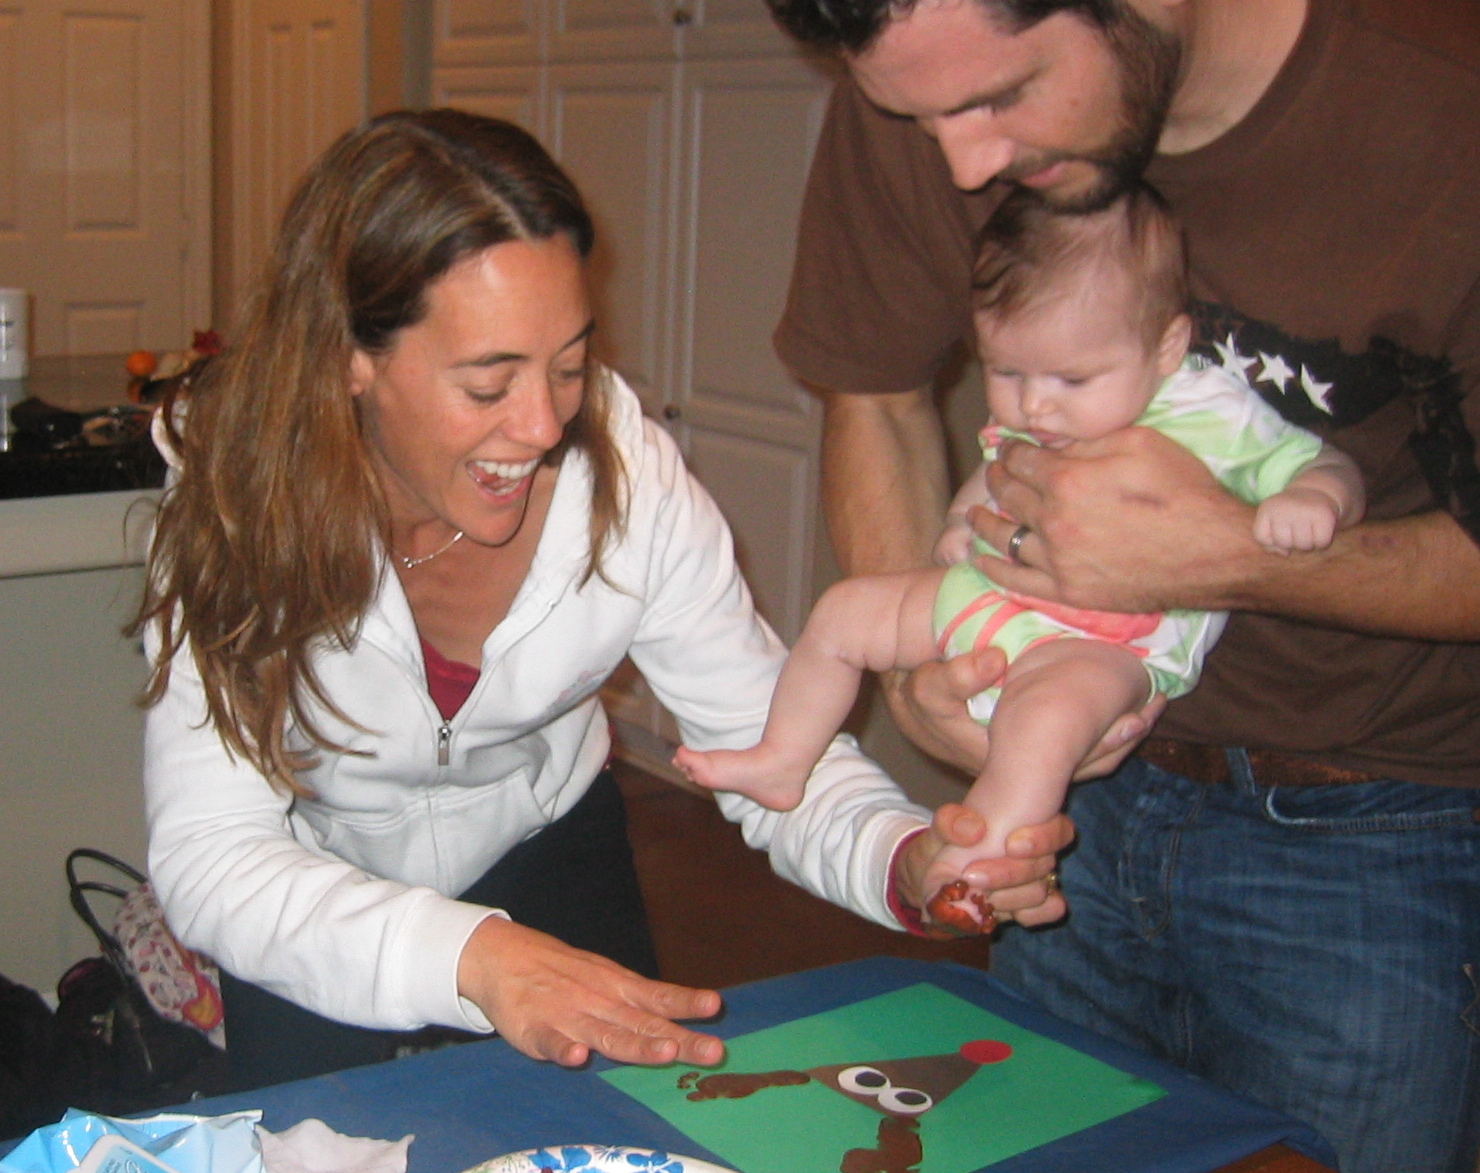
Looking for some simple, versatile Holiday crafts to make with your children. Here are three of my favorites that can be used for cards, ornaments or even framed art for family members this year. The best part is that you can do these with any age, even newborns!
All the crafts need washable acrylic paint, sponge paint brushes, cardstock, glue and markers for details. Colors depend on the craft. Materials can be purchased at Michaels' Craft Store.
http://www.michaels.com/ Don't forget to have handy wipes ready!!
1. Santa Handprint: Paint
red on the tip of your child's thumb and across the top of your child's palm. Paint the fingers and rest of the palm
white. Press down on cardstock. Repeat if you are making more that one. Once dried, add details. Glue a cotton ball at the end of the thumb for Santa's hat.
2. Angel: Paint bottom of your child's foot
white, have them stand and press on cardstock. Then paint both hands white and press on either side of the footprint. Once dried, add halo and face details. This is great framed for grandma.
3. Rudolph: Cut out a brown triangle and glue on cardstock. You may use hands or feet for the antlers. Found it easier to paint infants feet than hands. Paint hands (or feet)
brown and press on the top corners of the triangle. Once dried, add details.
I hope this inspires you to get creative and have fun this Holiday Season with your kids.


 The Menorah is one of the oldest symbols of the Jewish faith. It is a candelabrum with seven candle holders displayed in Jewish synagogues. It symbolises the burning bush as seen by Moses on Mount Sinai. The two most common menorahs have seven and nine candle-holders. The term hanukiah or chanukiah, refers to the nine-candled holder used during the Jewish festival of Hanukkah.